Saturday, May 28, 2011

Blindfold Block Sorting

This was one of those on the spot games that just came together and happened to be lots of fun. The girls enjoyed this new twist on a favourite activity and also took full advantage of my turn at being blindfolded...

WE USED:

* wooden block sorter
* blindfold (we used a scarf)

We sat in a circle and poured our wooden sorting blocks into the middle.

Then we took turns at being blindfolded and being handed the blocks one by one. We had to guess the shape just by feeling it, or if it was really tricky we got given clues (it's the shape of a stop sign etc...).

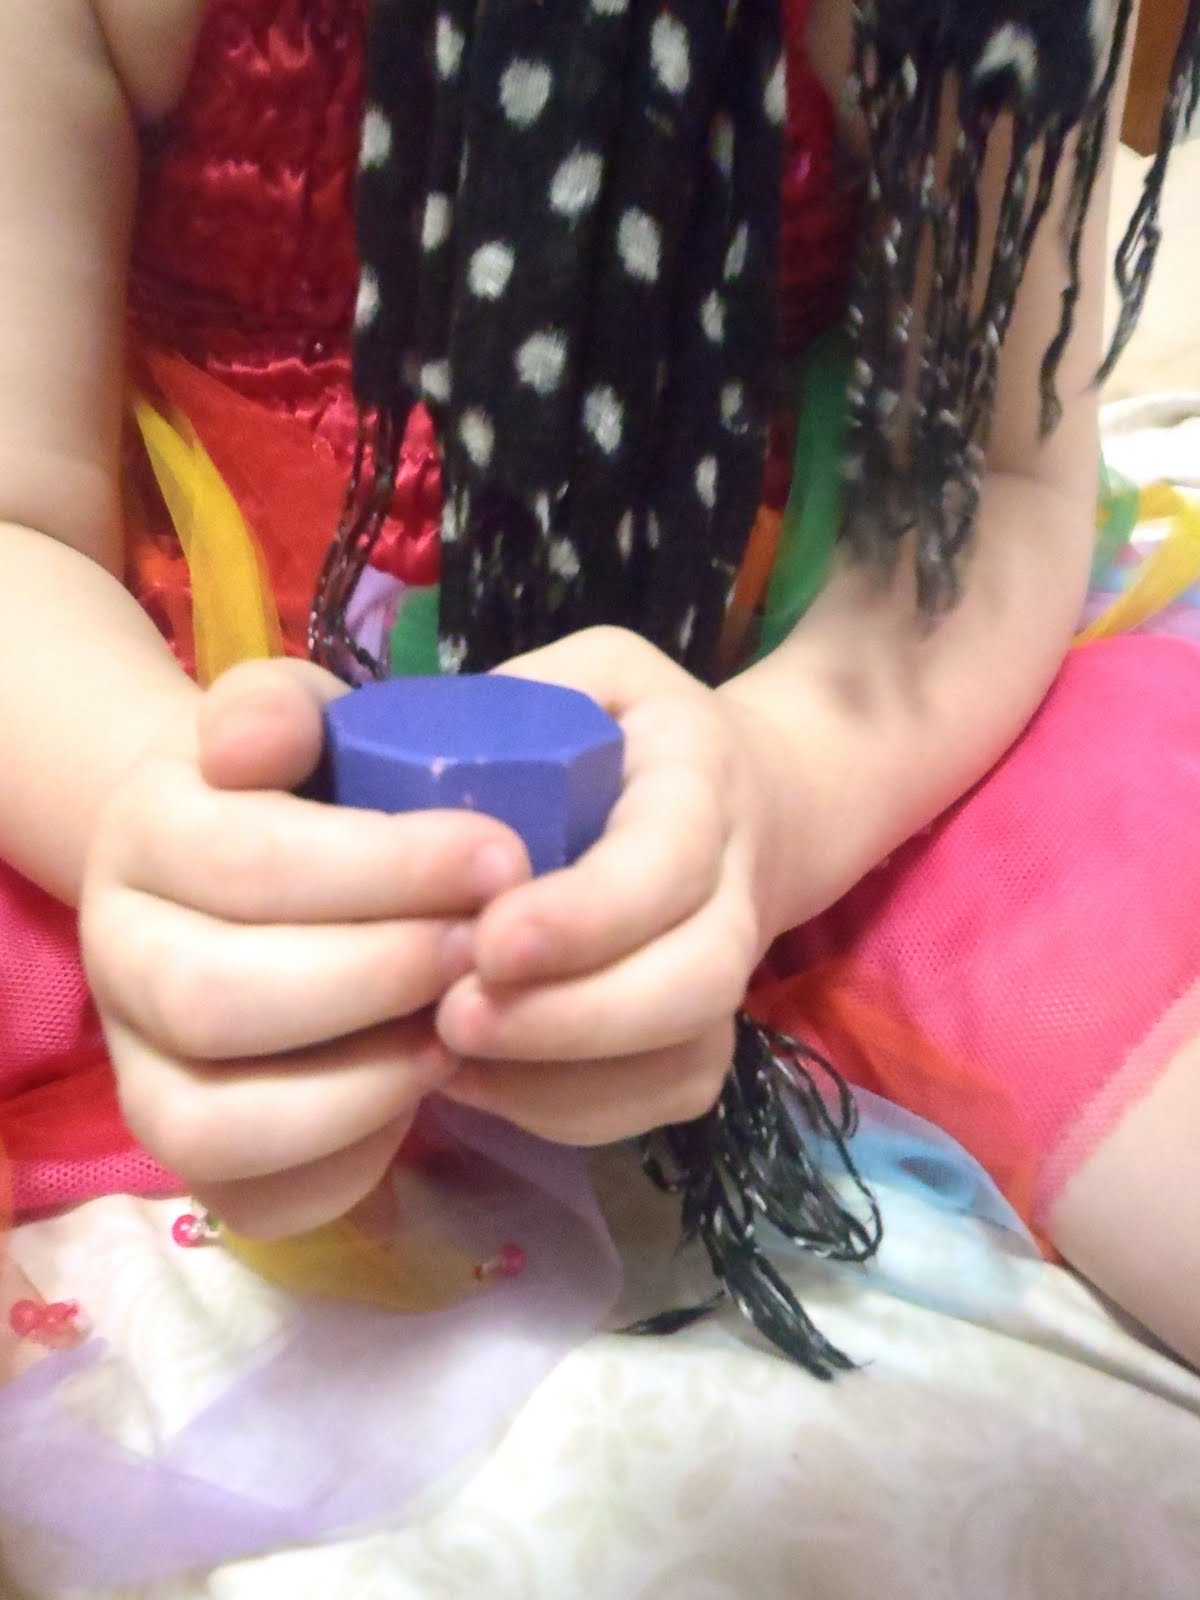
Bubble taking her turn at feeling the shape blocks. After a few turns we upped the ante by sorting the blocks into the sorter while blindfolded.
The girls both enjoyed this game and enjoyed my turn at being blindfolded even more. Instead of blocks I was handed all sorts of things; squishy pears from the bottom of the fruit bowl, nappy wipes, a fridge magnet, even someones foot! :-D

Thursday, May 26, 2011

Nocturnal and Diurnal Animals

At night as it is getting dark the girls and I often lay out on the trampoline watching the bats flying overhead. They are fascinated that some animals are just waking up and heading out when they (and other animals, like the birds we see settling in to the trees) are about to go to sleep.
Today we used the animal pictures from our Spot Light Game to learn about nocturnal and diurnal animals, and some that are both!

WE USED:

* animal pictures
* cardboard
(we cut and folded out a medium size postal box)
* paint or coloured paper
(black, yellow, grey)
* paper
* textas/markers
* scissors

First we cut and opened up a medium sized postal box, then painted one side yellow (for daytime) and the other black (for night time). The centre strip we painted grey to represent the animals who are both nocturnal and diurnal.

I used markers to make some simple explanation cards.


One by one we sorted the pictures; I would tell the girls when each animal was awake and they would put them on the nocturnal or diurnal side (or in the centre).
Squeak was fascinated by the bilby picture :-)


I'd love to do this activity again with a wider range of animals, particularly a bat which Bubble was very disappointed we didn't have!

Best toys for toddlers


Wednesday, May 25, 2011

Animal Spotlight

Since the success of our Sight Word Spotlight game a while ago I've been meaning to use the concept for different activities for the girls to enjoy.
I remember when I was younger and growing up on a farm one of the most exciting things we used to do was go spotlighting for animals through the paddocks and bush at night. Since we have neither a farm or animals I thought I'd try and replicate the excitement of finding animals in the dark using photos and torches.

WE USED:

* animal pictures
(I used Google but you could also use pages from an old calendar, photos or pictures cut from magazines)
* blutac
* torch

Using blutac I covered the girls bedroom walls and ceiling in animal pictures. You don't need to use so many (we ended up with 32) I just got a bit carried away!
You could even extend the learning by clustering animals from the same continent or habitats.

Turn out the lights and turn on the torches and get hunting!
The girls were SO excited spotting different animals in the dark, they particularly enjoyed the ones on the ceiling.
We also played a game where I made different animal sounds and they had to find the corresponding animal with their torches.


We Play


Tuesday, May 24, 2011

Floor Plan Treasure Hunt

My girls love treasure hunts. LOVE them. It doesn't matter if the 'treasure' is something cool and sparkly or a pair of rolled up socks, they love hunting down hidden things. And if there is a map to follow? Even better.

WE USED:

* paper
* ruler
* pencils/pens/markers
* laminator
(you could also use clear contact or a clear document slip)
* whiteboard marker
* 'treasure'

To start with I used pens and a ruler to draw the floor plan of our apartment onto a piece of paper. I included doors and fixtures like sinks, baths, showers etc...

Then I ran it through the laminator (you could also use a plastic slip or clear contact paper). Using a red whiteboard marker I then made 'treasure' crosses on the map to show the girls where to hunt.
Note; I didn't add furniture to the floor plan because I think that would have been too easy for Bubble, but they could easily be drawn in before laminating or with a whiteboard marker afterwards.

We used these cute heart shaped paperclips as our treasure.
I hid each one in a different place, then made a cross on our map to show which room they were in and the rough location.

As the girls found each treasure they added them to a tally card and wiped off the corresponding cross on their map.
We also played in reverse, with the girls hiding the treasures and marking the crosses and Mum having to hunt them out (they found some pretty tricky hiding spots I can tell you! :-D).

This was such a fun game, I can see it is going to be a favourite for a while yet! I loved watching Bubble studying the map and working out where to go, and little Squeak was adorable copying her sister and saying "hmmm" just like she did. They made such a very cute little team :-)

We Play


Saturday, May 21, 2011

Phonics Seeking Game

This simple phonics matching game was a hit with both girls today, Bubble because she is very 'into' letters and Squeak because she loved racing around the house grabbing things!
This game could easily be adapted for a scavenger game where each player draws out a certain number of letters and has to find corresponding objects around the house/classroom.

WE USED:

* letter flashcards
(we made some by cutting speech cards in half and writing letters with a marker)
* objects from around the house

First we mixed up our letter cards so they were out of order, then flipped them face down in a pile.

Bubble turned the cards over one at a time revealing a different letter each time. We would practice the phonic sound/s for the letter and have to race each other to find something in the house that began with that sound.

Some examples:

For Y Bubble found a yellow cheese and I found a yolk.

A = apple and ambulance.

O = oranges and oval.

B = bee and book.

C = cup and carrot.

We Play


Shell Necklaces

Bubble spent yesterday making some simple shell necklaces for her friends, she had so much fun picking out colours for each one and practicing tying her knots.
We used pre-drilled shells but they are easy to make if you have a Dremel or a drill with a fine diamond point bit. Alternatively search your local beach for shells with natural holes in them.

WE USED:

* shells (pre-drilled or drilled with a fine bit)
* embroidery thread
* embroidery needle
(small enough to pass through the holes in your shells)


Bubble made herself an orange one (her favourite colour) to wear with her fairy costume.

Link

Wednesday, May 18, 2011

Warm Water Play

The weather has been a bit unpredictable here lately, one day we have sunshine the next it's overcast, wet and freezing. On cold days we add warm water to our water table so the girls can still enjoy their favourite outdoor activity.

WE USED:

* warm water
(always test temperature before letting your kids play)
* water table or plastic tub/paddling pool
* water toys
* towel

Other ideas - add food colouring, ice cubes or bubble mix for extra play value.

To do our bit for water conservation (always a priority in Australia!) we use a bucket in our shower to catch the 'warm up water' for the girls play activities (meaning the water that usually goes down the drain while you wait for it to 'warm up'). Add in the rest of the hot water from the kettle after your morning coffee and you have the perfect water play activity for a cold day.

Block Play - Zoo

While we've been stuck at home fighting flu bugs the girls blocks have gotten a big workout. They spent almost half a day playing with this block 'zoo' a few weeks ago, making pens and rooms and houses for all the animals to live in.

WE USED:

* blocks (Mega Blocks and wooden)
* animal figurines


Tuesday, May 17, 2011

Balloon Powered Boat

I have so many posts to catch up on in here, I'll do my best to get through them over the weekend! We've had two sick little girls with the flu bug so not as much craft action as usual, but these balloon powered boats were a big hit today while we (finally :-D) enjoyed some nice warm weather.

WE USED:

* rectangular plastic container
(we used a cornstarch food container, but an empty margarine/ice cream container would work well too)
* sharp knife/craft knife
* drinking straw
* balloon
* sticky tape
* small elastic band
* scissors
* blu tack/sticky tack


First use your knife to make a small hole in one end of your container just big enough for your straw to fit through.

Cut your straw in half and attach the balloon to one end using sticky tape and the elastic band. It should be secure enough that you can use the straw to blow up the balloon without it leaking around the sides.

Thread your straw through the hole in your 'boat' making sure the balloon end is on the inside.

Use your blu tack to secure the straw on each side so it is watertight. You could also use Plasticine for this.

One balloon powered boat ready for the water!

Using the straw blow up the balloon and then kink or put your finger over the end so the air doesn't escape.

Place your boat in the water, let go of the straw and off it goes :-)

The girls enjoyed racing their boats around the paddling pool.